
I get it, sometimes it’s intimidating to delve into a new interest. Fermenting can certainly be intimidating; I was overwhelmed when I first started! These series of posts are meant to be a one-stop shop for your fermenting questions, and hopefully, they will allay the “intimidation.” In the recent post, “The Best Salt For Fermenting: Part 1,” we discussed the role of salt in fermentation. Additionally, we looked at how impurities and/or additives in salt can negatively affect the fermentation process. This post will continue that discussion by reviewing a couple of salt types and how to make a brine.
Salt Type
It is extremely difficult to nail down the exact number of salt types out there. I found articles discussing anywhere from four to fourteen different types. In an attempt to stay on topic, I will just cite this well done article on twelve different salt types and how they are commonly used. In regards to fermenting, only a few are normally considered. Here we will touch on two main salts that are used in fermentation; Himalayan salt and sea salt.
Himalayan Salt
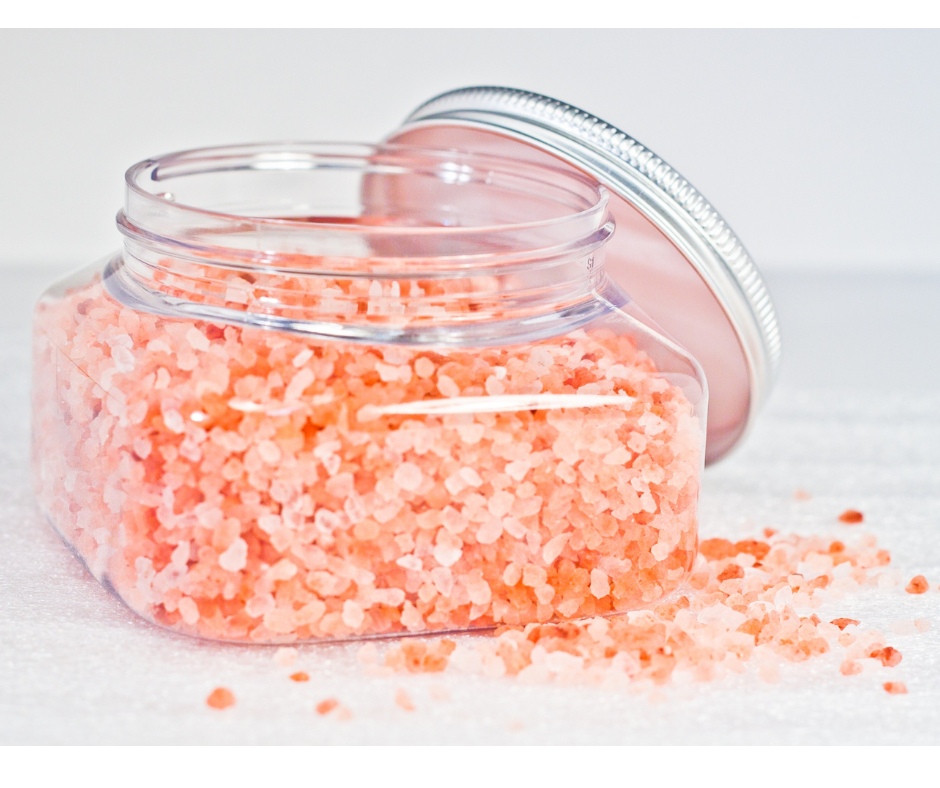
Superfood status and Himalayan salt seem to go hand in hand these days. However, in regards to fermenting (and maybe generally cooking), it might not be quite at superfood level. Dr. Hall has done some research on salt in general, looking at several studies about salt in the diet. While that is slightly off-topic (although a great read!), what I want to point out is the 84 trace minerals in Himalayan salt.
Himalayan salt does actually have 84 trace minerals, as shown via spectral analysis. However, this only comprises 2 percent of what makes salt, salt. Using it in general cooking is probably obsolete in regards to adding enough minerals to meet even part of “daily requirements.” Interestingly enough, some of the trace “minerals” are actually radioactive/poisonous substances such as radium, uranium, polonium, and thallium.
Could these trace minerals affect the bacteria trying to grow in ferments? Is it enough to make a difference? Dr. Hall’s argument is that if beneficial trace minerals impart benefit in that small amount, wouldn’t non-beneficial trace “minerals” harm in that amount?
Sea Salt
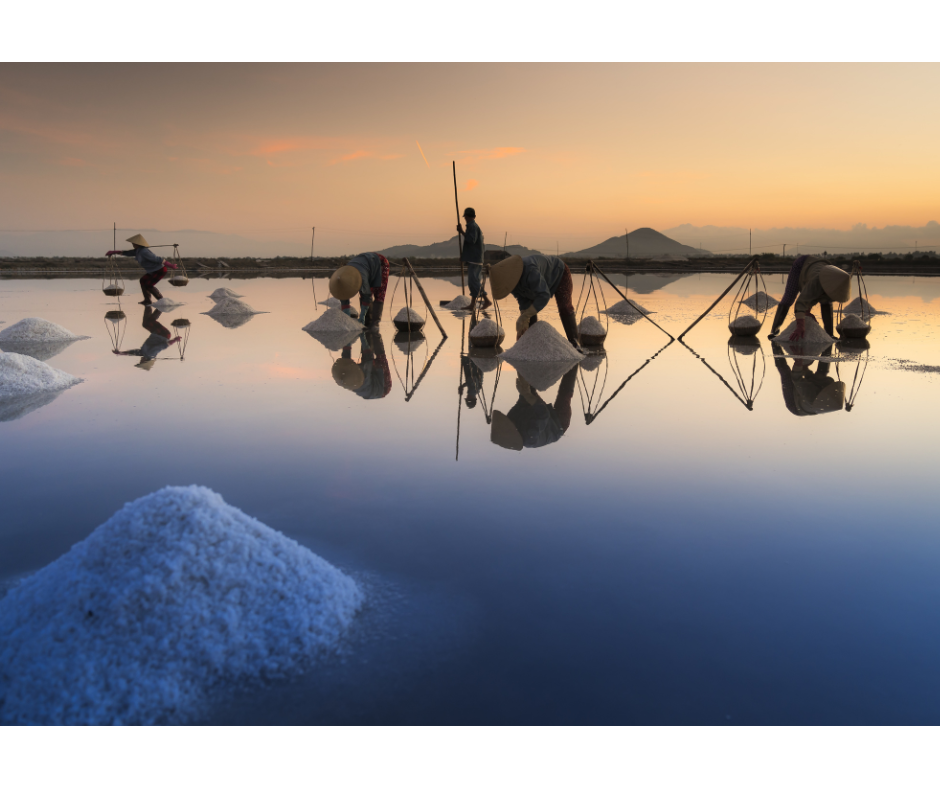
On the flip side of this sits sea salt. Another popular salt with many claimed benefits. But is it any better than the famous Himalayan salt? Let’s find out.
This study looks at 39 different sea salt brands, all from differing regions. Microplastics were scrutinized in the sea salts and found that regions surrounding Asia have high microplastic pollution, but worldwide rivers and their surrounding sea waters also have microplastic pollutants. It might be difficult to find a sea salt that doesn’t have some level of microplastic pollution. So maybe for salt, it’s a case of which type is least harmful?
Salt Type Studies
This study looks at four different salt types to distinguish if the end product of kimchi is affected by the varying mineral content in salts. The conclusion demonstrated that each type of fermented batch of kimchi had a significant variant in microbial population and byproducts of fermentation. Another study on kimchi looked specifically at purified salt versus mineral-rich sea salt. The results showed that the kimchi fermented with the mineral-rich sea salt was positively affected in “mineral contents, bacterial growth, and metabolite profiles.”
I did scour for a fermenting study using different types of salt. For example, something that compared Himalayan salt to sea salt to kosher salt. I couldn’t find one, but that doesn’t mean it isn’t out there. In the meantime, I do stick with a very high-quality sea salt (no affiliate). The minerals from the sea salt do show benefits as seen by the study above, and it doesn’t include other “minerals” that are actually poisons. It’s possible for microplastics to be present in sea salt, so deciding which salt option is the least harmful for the bacteria and you is the main question to answer when choosing your salt.
Making A Brine
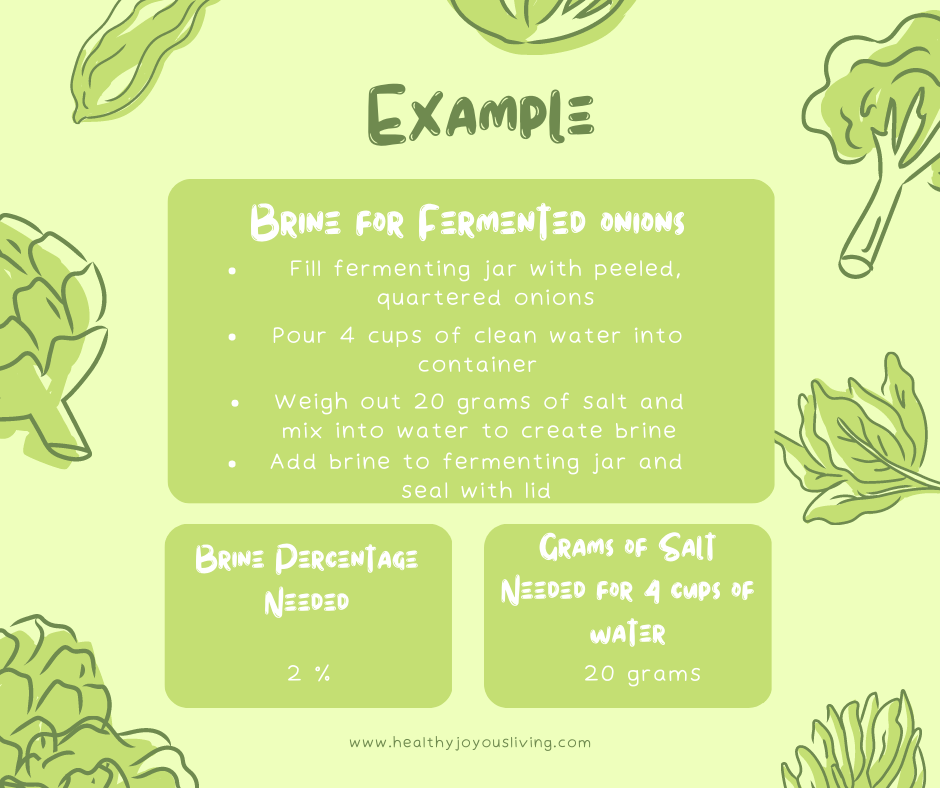
Now that we are armed with a lot of important information about salt and fermenting, what is the process for utilizing it in a ferment? Most of the studies I have cited in this post and “the best salt for fermentation: part 1” post have differing salt concentrations. There are some vegetables which need a higher salt concentration to stave off salt resistant microbes, and then there are lower ferments due to the different type of end product (i.e. fermented drink versus fermented whole vegetables). Those are discussions for a different post. Today let’s just make a typical 2% brine, which will be used for most ferments.
Brine Conversion Charts
There are many different brine conversion sites out there, but the easiest way to start out is just to utilize this chart. It will be off by a few tenths of a gram the more salt you use, but that shouldn’t make much of a difference. It’s basically differing by a pinch of salt. If you happen to have perfectionist tendencies (like myself), then by all means look up a converter online. I’ve just found this to be faster and more convenient.
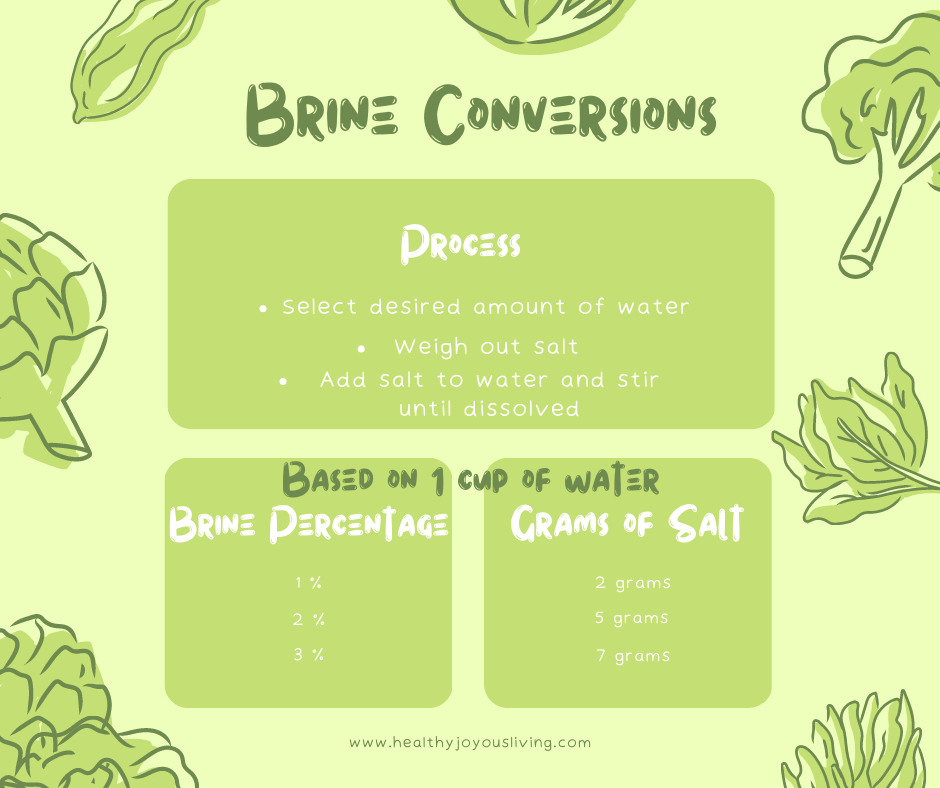
The Process:
- Start with deciding how much water you need to cover your vegetables. This will be total guesswork at first, but the more you ferment, the more you’ll be able to anticipate how much brine you will need. A good rule of thumb is to just start with four cups and go from there. Any extra brine can be put into a sealed container and stored in the refrigerator until your next fermenting adventure.
- Weigh out the salt based on how much water you will be using.
- For every one cup of water:
- 1 % brine = 2 grams
- 2 % brine = 5 grams
- 3 % brine = 7 grams
- Add salt to your water and stir until dissolved. If you are using a fine grain salt, that will only take a few seconds. You’ll want to add any large grain salt to some hot water until dissolved and then add in the rest of the cool water. The water should be room temperature or slightly cool when added to the vegetables.
- Pour the newly created brine over the vegetables until they are submerged.
- Seal the fermenting jar with a proper fermenting lid and store it in a dark, cool (ish) area for one week. Then move to the refrigerator for the remaining 3 weeks. After that, your typical ferment should be ready to consume!
Concluding The Best Salt For Fermentation
Hopefully, this helps you see the big picture a little better. The above pictures are meant to be a succinct way of relaying how to make a brine. If you didn’t get some of your questions answered, look at these other helpful posts! They discuss fermentation history, science, and equipment to round out your fermenting knowledge. More posts to come!
- A Brief History of Fermentation and Why This is Important
- The Science Behind Fermentation and it’s Benefits
- The Importance of Time Tested Fermenting Equipment
- The Best Fermenting Equipment To Use
- Discussion on Ferments Exposed to Oxygen
- Are Mason Jars the Best Tools for Fermentation?
- Pros And Cons Of The Mason Jar For Fermenting
- Dialogue on the Mason Jar and Oxygen Diffusion
- Important Gasses In Fermentation
Leave a Reply